
Manual cars remain the most common type of vehicle on Indian roads. From the Maruti Suzuki Swift and Alto to the Tata Tiago and Hyundai Grand i10, the vast majority of budget and mid-range cars sold in India come in manual variants, and a driving licence obtained in a manual car permits you to drive any car — manual or automatic. Learning to drive a manual well is a genuinely valuable skill.
That said, manual driving takes more time and coordination to learn than an automatic. The clutch, gear lever, and three-pedal system require simultaneous, well-timed inputs that feel unfamiliar at first. This guide breaks it all down — step by step, with specific attention to the driving conditions Indian roads actually present.


How to Drive a Manual Car – 7 Key Steps at a Glance
Here is an overview of the core skills every beginner must build:
- Understand the manual car pedals – clutch (left), brake (centre), accelerator (right), and how each works
- Learn the manual car gear system – what each gear does and when to use it
- Start the engine correctly – clutch fully pressed, neutral confirmed, ignition engaged
- Find the biting point and move off smoothly – the most critical skill for beginners
- Upshift and downshift at the right time – using engine sound, speed, and RPM as your guide
- Manage stops and restarts in traffic – especially at signals, speed breakers, and railway crossings
- Handle hill starts confidently – using the handbrake technique to prevent rollback
Manual Car Pedals Explained
The most immediately unfamiliar thing about a manual car for a new driver is the three-pedal layout. Understanding what each pedal does — and which foot operates it — is the foundation of everything else.
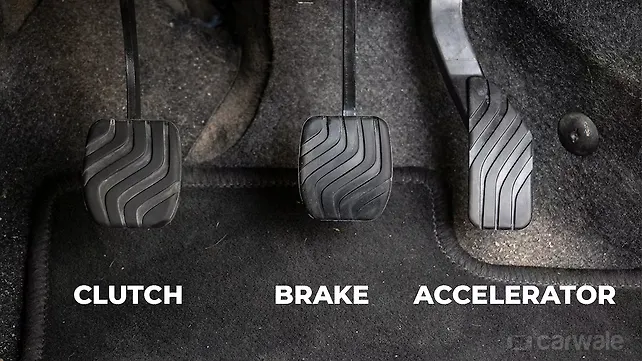
Clutch (left pedal) – operated by your LEFT foot The clutch is the connection point between the engine and the wheels. When you press the clutch pedal fully down, this connection is broken — the engine keeps running, but no power reaches the wheels. When you release the clutch, the connection re-engages and power flows through to drive the wheels forward. Every gear change requires pressing the clutch first.
Brake (centre pedal) – operated by your RIGHT foot The brake slows and stops the car. In a manual car, you will often press the clutch and brake simultaneously when coming to a stop to prevent the engine from stalling as speed drops.
Accelerator (right pedal) – operated by your RIGHT foot The accelerator controls the engine's power output. In a manual car, coordinating the accelerator with the clutch release is the core skill that takes the most practice to develop.
💡 Key rule: Your left foot operates ONLY the clutch. Your right foot operates ONLY the brake and accelerator — never both at the same time.
Manual Car Gear System Explained
The gear lever (also called the gear stick or gearshift) allows you to control how much power the engine sends to the wheels at any given speed. The gear pattern is typically printed on top of the gear knob itself — study it before you drive.

Most Indian manual cars have 5 forward gears and one reverse gear, arranged in an H-pattern:
1st Gear – Maximum power, low speed. Used to move off from a standstill and for very slow crawling in heavy traffic. In Indian city conditions, you will spend more time in 1st gear than drivers in most other countries.
2nd Gear – Moderate power, slightly higher speed. Used in slow-moving traffic, narrow lanes, residential areas, and while navigating market streets or crowded intersections.
3rd Gear – Mid-range power and speed. Ideal for city roads, urban arterial roads, and speeds roughly between 30–50 km/h.
4th Gear – Higher speed, less power. Suitable for clear city roads, ring roads, and state highways at 50–70 km/h.
5th Gear – Highest speed, lowest engine strain. Used on national highways, expressways, and open roads at 70 km/h and above.
Reverse (R) – Always come to a complete stop before engaging reverse. Many cars require you to press down on the gear lever or lift a collar ring before selecting reverse to prevent accidental engagement.
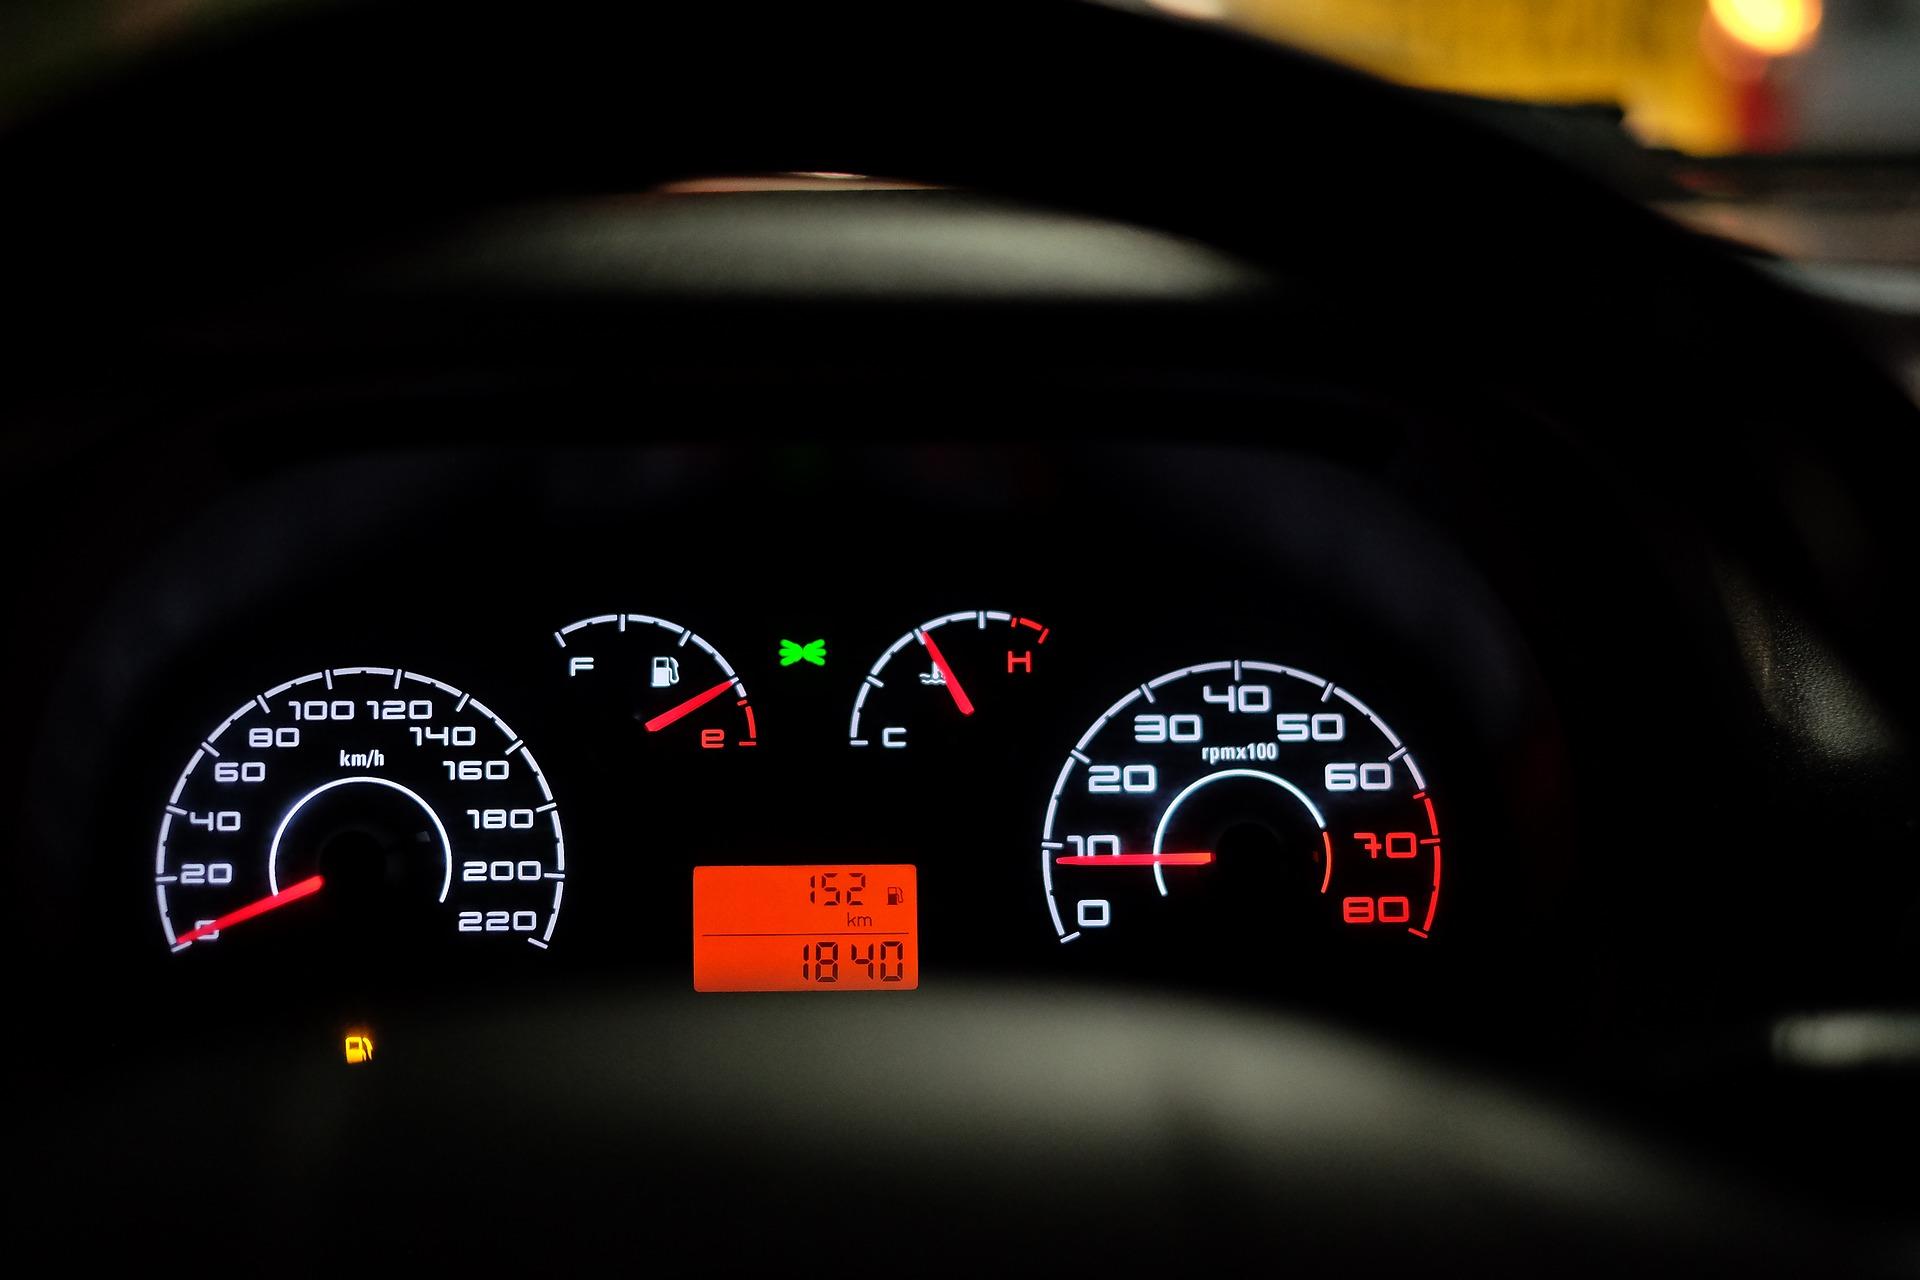
💡 Dashboard tip: Most modern Indian cars have a tachometer (RPM gauge) on the dashboard. As a rough guide, upshift when the needle reaches around 2,000–2,500 RPM in city driving, and downshift when it drops below 1,000–1,500 RPM and the engine begins to feel strained or sluggish.
Learn clutch control with expert driving classes Pune.
Pre-Drive Checklist – Before You Start
Good habits before you move protect you and everyone around you. Go through this checklist every time:
✅ Seat position — Adjust so you can press the clutch pedal fully to the floor with your left foot while keeping your knee slightly bent. If you have to stretch to reach the clutch, you will not be able to press it quickly enough in an emergency.
✅ Steering wheel — Adjust height and tilt to sit comfortably in front of your chest. Grip at the 9-and-3 o'clock positions.
✅ Mirrors — Set the interior mirror to frame the full rear windshield. Adjust side mirrors to show minimal car body and maximum road behind you.
✅ Seatbelt — Always buckle up. The diagonal strap should cross your shoulder and chest.
✅ Gear lever in Neutral — Before starting the engine, confirm the gear lever is in Neutral by wiggling it left and right freely. A car inadvertently left in gear when the engine starts will lurch forward suddenly — a dangerous and common beginner error.
✅ Handbrake engaged — Confirm the handbrake is pulled up. This prevents the car from rolling while you start up.
Step 1: How to Start a Manual Car
- Press the clutch pedal fully to the floor with your left foot
- Press the brake pedal with your right foot
- Confirm the gear lever is in Neutral
- Turn the key in the ignition (or press the start button if your car has one) to start the engine
- Listen for a moment — the engine should idle steadily. If it sounds rough, rattling, or strained, switch off and investigate before driving
- Keep both feet on the clutch and brake until you are ready to move
💡 Why press the clutch to start? Pressing the clutch fully before starting ensures that even if the gear lever has accidentally been left in gear, the engine starting will not cause the car to jerk or lurch. It is a safety habit worth building from your very first lesson.
Step 2: Finding the Biting Point and Moving Off
The biting point is the single most important skill in learning how to drive a manual car. It is the precise moment — as you slowly release the clutch — when the clutch plate begins to engage with the flywheel, and power starts flowing to the wheels. Every car has a slightly different biting point, and learning to feel it takes practice.
To move off from a standstill:
- Engine running, clutch fully pressed, gear lever in 1st gear
- Release the handbrake
- Slowly begin to lift your left foot off the clutch — very gradually
- As you release the clutch, you will feel a slight vibration or shudder, and the engine note will change slightly and deepen. This is the biting point. Stop lifting the clutch at this moment.
- Simultaneously, begin to press the accelerator gently with your right foot
- Continue slowly releasing the clutch while adding a little more accelerator
- The car will begin to move forward. Once you are rolling smoothly and the clutch is fully released, rest your left foot on the floor — do not keep it hovering over the clutch pedal
If the engine stalls: Do not panic. Press the clutch, apply the brake, restart the engine, and try again. Stalling is a normal part of the learning process — every manual driver has done it hundreds of times before mastering the skill.
Find practical driving classes near me in Lucknow for beginners.
Step 3: Upshifting Through the Gears
As your speed increases, you need to shift to progressively higher gears to keep the engine in its efficient power range. Driving in too low a gear at too high a speed overworks the engine; driving in too high a gear at too low a speed makes the car feel sluggish and can cause stalling.
How to upshift smoothly:
- Release the accelerator
- Press the clutch fully
- Move the gear lever to the next higher gear
- Slowly release the clutch while simultaneously pressing the accelerator again
- The entire sequence should feel fluid and continuous — not four separate actions
The goal is a smooth, seamless transition where the passenger barely notices the gear change. This comes with time and repetition.
Approximate gear-to-speed guide for Indian city driving:
| Gear | Approximate Speed Range |
|---|---|
| 1st | 0–15 km/h |
| 2nd | 15–30 km/h |
| 3rd | 30–50 km/h |
| 4th | 50–70 km/h |
| 5th | 70 km/h and above |
These are approximate ranges — always use engine sound and feel as your primary guide.
Step 4: Downshifting and Slowing Down
Downshifting is the reverse process — moving to a lower gear as speed decreases. This is used when slowing for traffic signals, approaching junctions, navigating speed breakers, or turning into narrow lanes.
How to downshift:
- Release the accelerator and allow the car to slow naturally
- Press the clutch fully
- Move the gear lever to the next lower gear
- Slowly release the clutch
- Reapply accelerator if you are not stopping completely
When coming to a complete stop: As speed drops below approximately 10–15 km/h, press the clutch to prevent stalling, apply the brake to come to a full stop, and shift the gear lever to Neutral. Keep your foot on the brake until you are ready to move again.
Step 5: Stopping and Starting in Indian City Traffic
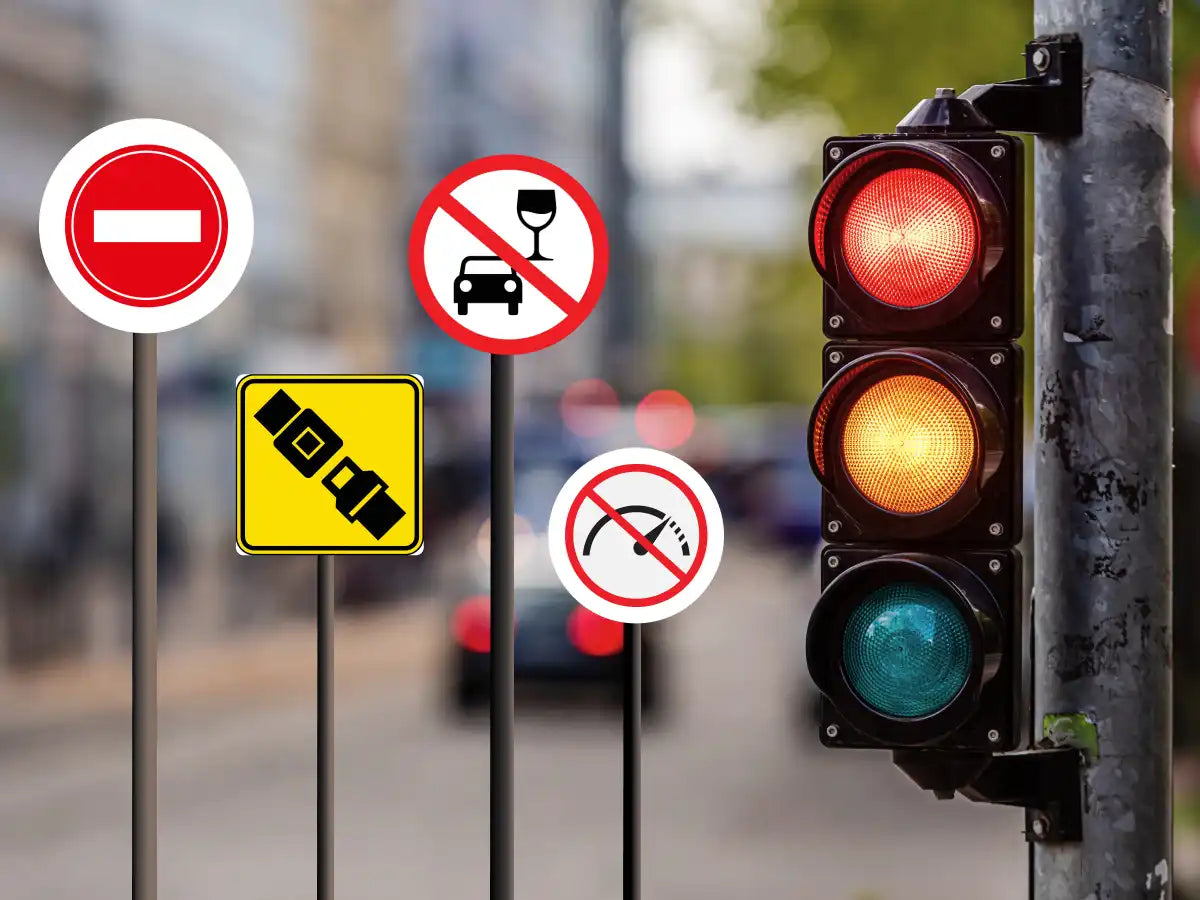
Indian urban traffic presents one of the most demanding environments for a manual car beginner in the world. Signals in cities like Bengaluru, Mumbai, and Delhi can hold traffic for 90 seconds or more. Railway level crossings can stop traffic for 5–10 minutes. Markets, school zones, and crowded intersections require near-constant gear changes between 1st and 2nd.
At traffic signals:
- Come to a full stop, press the clutch, shift to Neutral, and release the clutch
- Apply the handbrake for longer stops — this prevents clutch fatigue from holding the biting point
- When the signal turns green, engage 1st gear, find the biting point, and move off smoothly
In stop-and-go traffic:
- Stay in 1st or 2nd gear throughout slow-moving congestion
- When traffic stops briefly, press the clutch and hold with the brake — do not shift to Neutral for very short pauses
- For stops longer than 20–30 seconds, shift to Neutral and release the clutch to avoid clutch plate wear
At railway crossings: Shift to Neutral, apply the handbrake, and switch off the engine if the wait is extended. Restart with the full starting procedure when the crossing opens.
Step 6: Handling Speed Breakers in a Manual Car
Speed breakers are a constant feature of Indian roads — in residential colonies, near schools, petrol stations, toll plazas, and on state highways. Handling them correctly in a manual car protects both the car and the passengers.
Approach:
- Begin reducing speed well before the speed breaker — 30–40 metres ahead
- Downshift to 1st or 2nd gear depending on your current speed
- Press the clutch as needed to prevent stalling at very low speeds
- Cross the bump at a slow, controlled pace — 5–10 km/h
After the bump:
- Do not accelerate sharply until you have fully cleared the speed breaker
- Upshift progressively as speed increases
💡 Common mistake: Many beginners try to cross speed breakers in 3rd or 4th gear by simply slowing down without downshifting. This strains the engine and often causes stalling just as the car reaches the bump — the worst possible moment.
Step 7: Hill Starts – Preventing Rollback
Stopping on a slope in a manual car is one of the most anxiety-inducing situations for beginners, particularly on flyover approach ramps, elevated roads, and ghat sections. The handbrake technique makes this manageable:
- At the stop, apply the handbrake firmly and shift to Neutral
- When ready to move, press the clutch and shift into 1st gear
- Slowly bring the clutch to the biting point — feel the engine note change
- Begin to gently press the accelerator
- Release the handbrake as the biting point is felt — the car will hold on the slope and begin to move forward
- Continue releasing the clutch smoothly while adding accelerator
The key is: release the handbrake only after you feel the biting point. Releasing it before — while the clutch is still fully pressed — will cause the car to roll backward.
Start practical road training through guided driving classes in Mumbai.
Reversing in a Manual Car
- Come to a complete stop with the car in Neutral
- Press the clutch fully
- Engage Reverse gear — press down or lift the collar as required by your car's design
- Check all mirrors and look physically over your right shoulder
- Slowly release the clutch to the biting point — no accelerator is needed for most reversing in tight parking situations
- Steer smoothly in the direction you want the rear of the car to move
In Indian apartment complexes, shopping mall parking lots, and roadside parking near market areas, reversing into tight spots is a frequent requirement. Practise in a quiet open area before attempting this in confined spaces.
Parking a Manual Car Safely
- Come to a full stop with the car in Neutral
- Apply the footbrake
- Engage the handbrake fully
- Shift into 1st gear (for additional security, especially on slopes)
- Switch off the engine
- Release the footbrake — the car should be held by the handbrake and gear
💡 On slopes: If parked facing uphill, leave the car in 1st gear so that if the handbrake fails, the engine compression keeps the car from rolling backward. If parked facing downhill, leave it in reverse. Always turn the front wheels toward the kerb when parked on a slope.
Learn safe driving with professional driving classes Bangalore.
Common Mistakes Indian Learners Make — And How to Fix Them
| Mistake | Why It Happens | How to Fix It |
|---|---|---|
| Stalling on takeoff | Releasing clutch too fast or too little accelerator | Release clutch more slowly; add accelerator earlier |
| Riding the clutch | Keeping the foot resting on the clutch pedal while driving | Rest left foot flat on the floor when not changing gears |
| Stalling at signals | Not pressing clutch before engine drops below idle | Press clutch as soon as speed drops to 10–15 km/h |
| Jerky gear changes | Rushing the clutch release | Slow down — smooth is faster than fast in gear changes |
| Wrong gear for speed | Not monitoring engine sound or RPM | Listen to the engine; if it sounds strained, upshift |
| Rollback on slopes | Releasing handbrake before biting point is felt | Always feel the biting point first, then release handbrake |
| Skipping gears under pressure | Panic in traffic causing misshifts | Practise the H-pattern repeatedly in a stationary car |
| Hitting speed breakers in the wrong gear | Failing to downshift before the bump | Downshift to 1st or 2nd well before reaching the bump |
How to Get Better – Practising in Indian Conditions
The best progression for an Indian beginner learning to drive a manual car follows a clear sequence:
- Empty parking area or quiet road – practise finding the biting point, smooth takeoffs, and stopping without stalling
- Residential colony – introduce 1st and 2nd gear changes, slow turns, and reversing into narrow spaces
- Low-traffic city road – practise 2nd and 3rd gear changes, signals, and speed breakers
- Mixed city traffic – introduce stop-and-go traffic management, lane navigation, and signal starts
- Slopes and flyover ramps – practise hill starts with the handbrake technique
- Highway and open roads – practise 4th and 5th gear driving, overtaking, and smooth high-speed gear transitions
Find a verified driving instructor in India on Superprof who can guide you through each stage safely and progressively.
Conclusion
Learning to drive a manual car in India requires patience, coordination, and consistent practice — but the skill is deeply rewarding. Once the clutch-gear-accelerator relationship becomes instinctive, you will have full control over your car in every condition Indian roads can present: from the crawling traffic of a Bengaluru ring road to a steep ghat descent in the Western Ghats. The manual car demands more of the driver — and gives more back in return.
Summarise with AI:
Did you like this article? Leave a rating!

 Loading...